Photo: Flickr
By Lynn McIlwee
BrewingWork.com
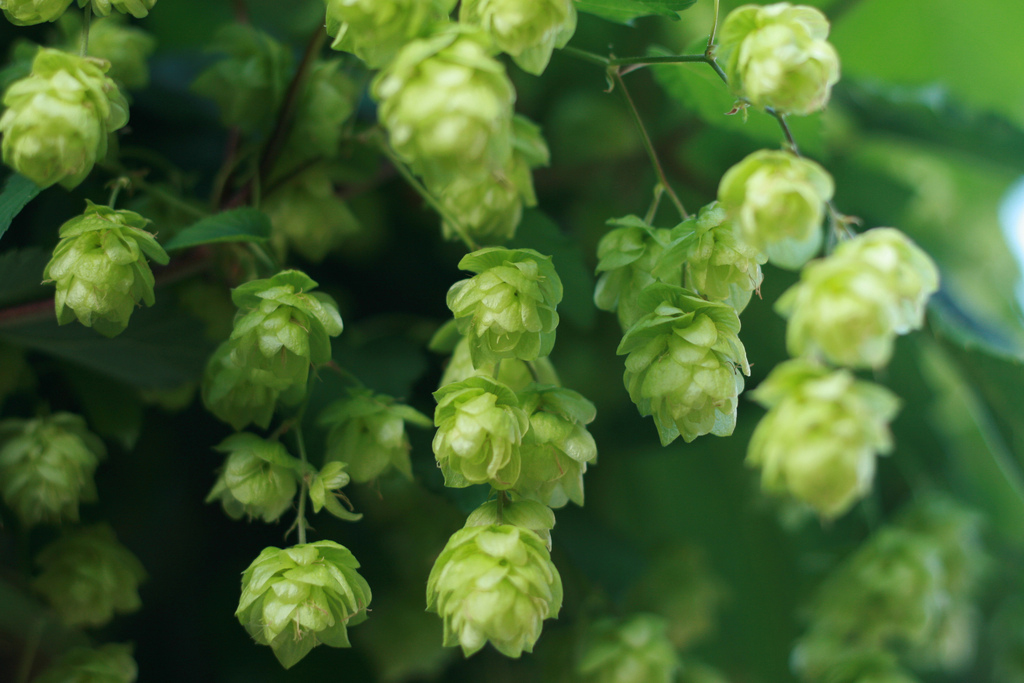
Ever thought about growing hops in your backyard or at the brewery? Hops are pretty easy to grow and are a hearty plant that will return year after year if you tend to them properly.
Tips on How to Grow Your Own Beer Hops
When and Where to Buy Rhizomes
Order your rhizomes early (Feb/Mar) to ensure that you get your desired plants when they are ready for shipping (Mar/April). Consider buying hop twine to support your bines as the twine will support 100lbs and mature plants are very heavy. One good wind storm and your precious hops could come tumbling down. Sources for ordering rhizomes in North America include:
Canada: Hops Connect (BC), Left Fields/Crannóg Ales (BC), Prairie GEM Hops (MB), Clear Valley Hops (ON) and Four Horses (NS)
United States: Hops Direct (WA), Willamette Valley Hops (WA), Freshops (OR), US Hop Source (CO), American Brewmaster (NC)
Where and How to Plant
Keep your rhizome moist until ready to plant and only plant when there is no chance of frost. Select a spot where there is a lot of sun—southern exposure is preferred by your hoppy little friends. The planting area should have a trellis or hop twine secured for the climbing wonder to reach up to 25 feet.
Prepare the soil by digging a hole about 1foot deep and 1 foot in diameter. Fill the hole with fresh top soil, compost and peat moss. Plant the rhizomes approximately five (5) to eight (8) feet apart to give the roots ample space to grow. Plant your rhizome 1-2” deep horizontally with the root side down and bud(s) pointing up. Water the area daily to keep the rhizome moist but not soaked. Now wait patiently for about two weeks for your new baby to poke through!
Growing
Year One: In the first year, do not cut away any of the bines as you will build a stronger root structure by leaving them intact. Let them grow, clock-wise, up the trellis/twine.
Years Two Onward: Select two or three strong bines and let those climb—cut away the rest of the growth as it comes up. By selecting a couple of bines, the plant puts its energy into making hop cones and they will produce larger cones. When your bines reach the top of the trellis, carefully pull off the bottom 3 feet of leaves. This allows more oxygen flow around the base and there is less likelihood of getting diseases.
Year Three: You have mature plants and should receive a good yield
Watering
Keep your hops well hydrated but not water-logged. Your soil composition (sand, clay, dirt) will play into how well the water is absorbed. The best time to water is in the morning as your plants will have time to dry out should the leaves get wet and watering at night can attract pests to your wet leaves.
Fertilizing
Use 20-20-20 in the spring when new growth starts. When the burrs appear, use 15-30-15 or similar. Adding compost to the soil is also encouraged.
Pests
Aphids and spider mites are mortal enemies to hops. Inspect your plant regularly to ensure these little creeps aren’t using your hops as a Holiday Inn. If you’re lucky, lady bugs will stake a claim on your plants and eat the aphids.
Harvest
Your hops are ready for picking when they are a) springy—doesn’t stay compressed when squeezed; b) dry and sticky to the touch; c) have a strong hop odour—rub one on your fingers and take a nice, hoppy whiff; d) lupulin—look into the hop and if you see a thick yellow substance, lupulin is present; d) there’s no visible yellow powder. Wear pants, a long-sleeved shirt and gloves for picking unless you like red scratches.
Drying
Find a room that is free of wind, light and where bugs won’t get in. You’ll need to lay the hops on a window screen or some other apparatus that allows air flow to the top and bottom. Having a fan in the room, positioned so that it won’t blow your hops across the room, helps as well. Turn them daily. You will know they are dry when they’re springy to touch, lupulin falls off easily and the central stem will break (not bend). This takes 2-3 days. Now weigh, label and vacuum-seal them for the freezer until you’re ready to brew.
Winter Sleep
Your hops need to rest up so they can come back strong next year. If it’s the first year for your rhizome(s), let the entire plant die back before you cut it a few inches from the ground. The bines will put nutrients back into the soil and make the plant stronger. After year one, after harvesting, cut it at the 3’ mark (where you’ve removed the leaves) and let that die back before reducing it to about 3”.
That’s it. Like I said, growing hops are pretty easy to grow and don’t need too much TLC if you follow the basics. Happy growing!
This post was originally published on BrewingWork.com.
Learn more about the UVM Business of Craft Beer Program.


